How to Make a Homemade Water Filter
In a SHTF situation, clean drinking water is a must. Why spend hundreds on a filter when you can make a quality one at home for a fraction of the price?
If things were to go south and clean drinking water became unavailable, your Brita filter is not going to cut it.
Having a quality filtration system that can turn contaminated water into life-saving drinkable water is an absolute must for every preparedness-minded person. Despite knowing this, many preppers will hold off on buying one because of the price.
RELATED : Turn Undrinkable Water Into Pure, Crystal-Clear Distilled Water With a Home-Built Solar still.
Why wait? Instead of dishing out your hard-earned money on a $300 filtration system, you can make your own for well under a $100.
What you’ll need
- Two 5-gallon food-grade buckets and lids – You should not need to pay for these. Most bakeries, grocery stores (the bakery section), and restaurants will give these away for free.
- One or more quality filter elements – These can be any of the Berkey style candle filters or thicker ceramic filters (which I use in this post). You’ll want to find one that has a filtration efficiency of at least 0.2 micron and exceeds the NSF (National Safety Foundation) standards.
RELATED : How To Store Emergency Food and Water Supplies- For Any Disaster
How to make a homemade water filter
Making your own homemade water filter is a very simple process:
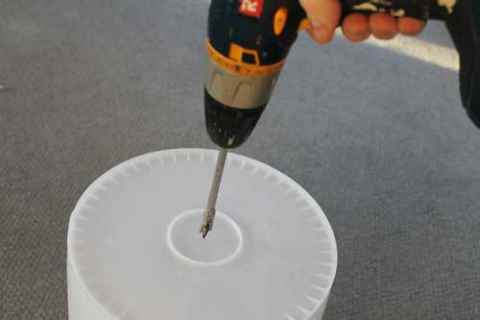
Step 1: Drill a 1/2″ hole in the bottom of your top bucket for each filter element (if more than one):
RELATED : Lindsey Williams – Warning to prepare for an emergency. Stock up on food, water and supplies now!
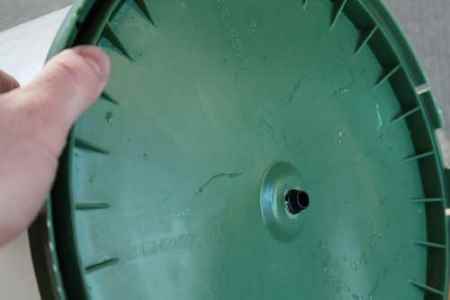
Step 2: Place the top bucket onto the lid of the bottom bucket and using the hole(s) you just drilled, trace a circle onto the bottom-bucket lid with a marker:
Step 3: Using the circle mark(s) as a guide, drill another 1/2″ hole in the lid of the bottom bucket for each circle you have drawn:
RELATED : What’s in Your Drinking Water — You Really Should See This!
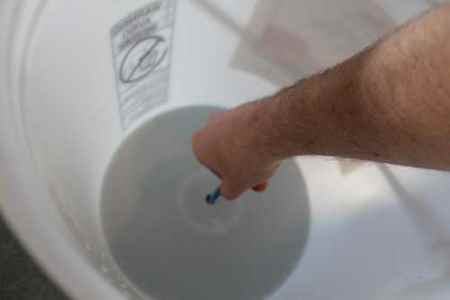
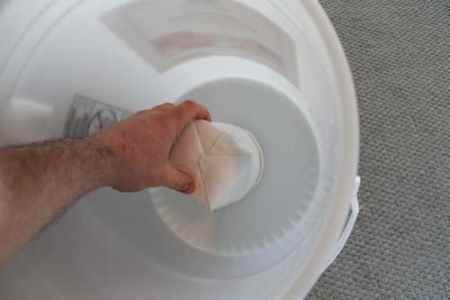
Step 4: Install the filter element(s) in the hole(s) you made in the top bucket (If your filter comes with a pre-filter “sock”, you’ll want to set that up before installing):
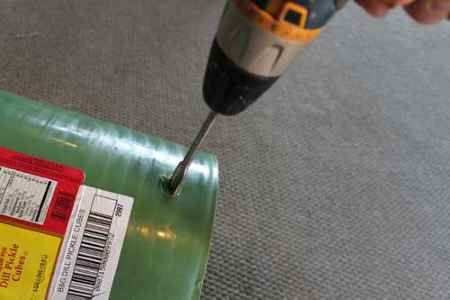
Step 5: Drill a 3/4″ hole on the side and near the bottom of the bottom bucket:
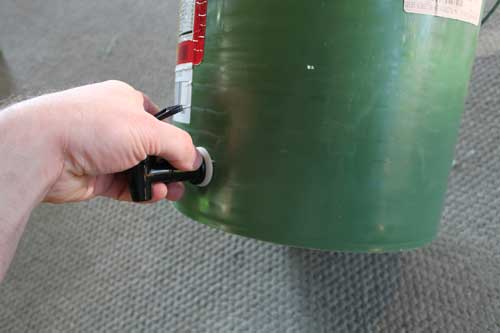
Step 6: Install the spigot:
RELATED : Hydration for the Apocalypse: How to Store Water for Long-Term Emergencies
Step 7: Place the top bucket onto the lid of the bottom bucket ensuring that you align the filter element nipple(s) wth the hole(s) of the lid from the bottom bucket:
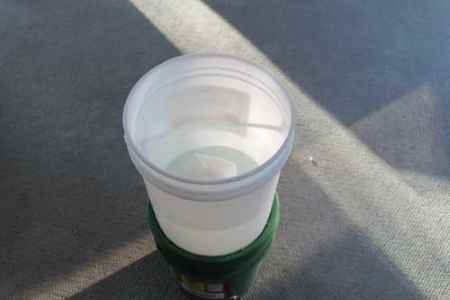
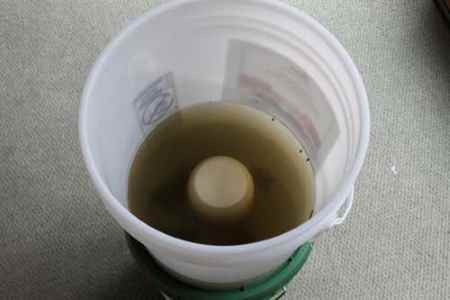
Step 8: Fill the top bucket with water and in an hour you will have bacteria free water to drink in the bottom bucket:
Step 9: Enjoy the clean, clear, filtered water:
RELATED : Water Storage Tips
Testing out the filter
In addition to showing you how to make a homemade water filter, I also wanted to use this opportunity to test out the filter element that I got from InternetPrepper.com.
I already tried this test with the Berkey filter elements that I have (which passed without issue), but I figured given the huge price difference between the generic filter from InternetPrepper.com and the British Berkefield ones, I wanted to see if I could drink the same stagnant water without any ill effects.
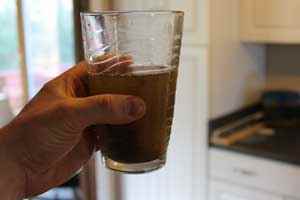
The water I used in this experiment is from a nearby small pool of water that resembles a small swamp. I’m pretty certain it’s loaded with giardia and other biological nasties.
Since this could potentially be one of the sources of water that my family would use in a SHTF situation, I want to be sure we don’t get sick from it. So now’s the time to test it.
RELATED : Finding Water In the City When the SHTF
My results
CLARITY
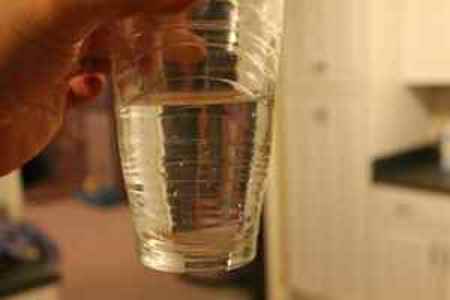
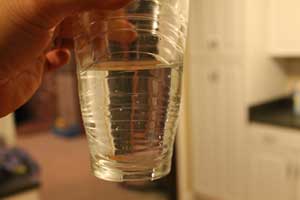
As you can see from the two pictures, their is a stark difference in clarity. Keep in mind that clarity is only the first step which means it’s good at sediment removal but it does not mean it necessarily tastes good or is free of biological contaminants.
TASTE
After taking a taste, it was ok. There was a slight flat taste to it which is likely due to it not being very oxygenated since it’s a stagnant pool of water (similar to boiled water). I’m sure if it was river water or some other running source of water with a lot of oxygen it would have been better.
To ensure that I’m making a fair comparison, I did run the filter first through a couple gallons of tap water which tastes pretty good in our town.
For those that like more of an oxygenated taste, you can pour the water back and forth from one container to the other which will oxygenate it and improve the taste.
RELATED : Ultra Wealthy Ignore Drought: “No, We’re Not All Equal When It Comes To Water”
PURITY
This is difficult to really test unless you have the right equipment. Since I don’t have the equipment, the best I can do is drink a few glasses and wait a week or two. As of this writing, it’s been a little over a week since I drank the water. So far so good. I have not had any ill effects like diarhea or stomach pains.
Otherwise, given their price, I would recommend purchasing a few of the filter kits for you and your loved ones (or for future barter). Again, you can get the kits at the following link: InternetPrepper.com.
(source)
Survive Attack to Our Power Grid System (Weapon That Can Instantly End Modern Life in America)
Survival MD (Best Post Collapse First Aid Survival Guide Ever)
Backyard Innovator (A Self Sustaining Source Of Fresh Meat,Vegetables And Clean Drinking Water)
Blackout USA (EMP survival and preparedness)
Conquering the coming collapse (Financial advice and preparedness )
Liberty Generator (Build and make your own energy source)
Backyard Liberty (Easy and cheap DIY Aquaponic system to grow your organic and living food bank)
Bullet Proof Home (A Prepper’s Guide in Safeguarding a Home )
Family Self Defense (Best Self Defense Strategies For You And Your Family)
Survive Any Crisis (Best Items To Hoard For A Long Term Crisis)
Survive The End Days (Biggest Cover Up Of Our President)
Drought USA(Discover The Amazing Device That Turns Air Into Water)



Will you explain the filter you were talking about and where to get them?