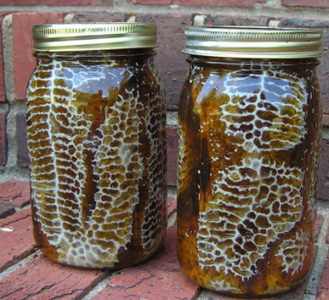
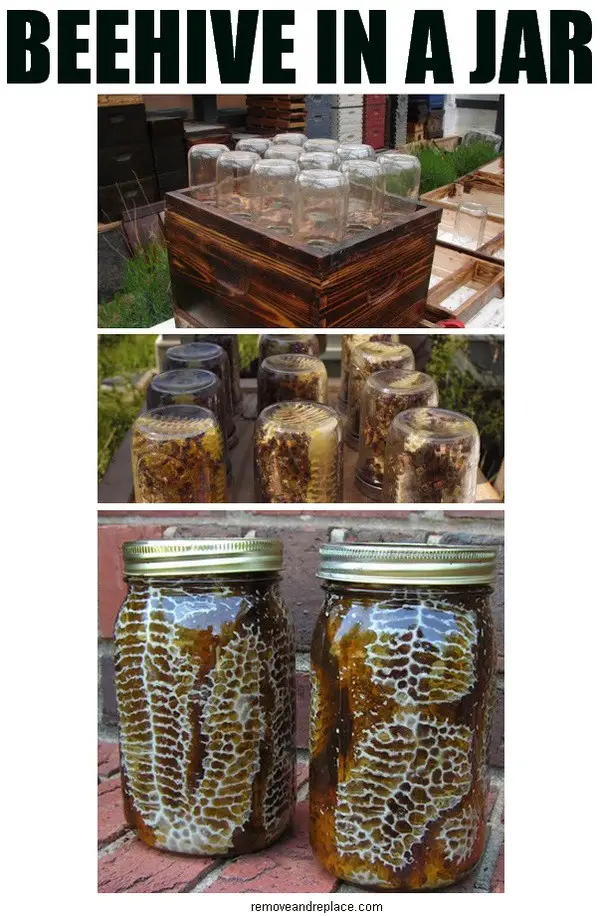
It seems everyone is interested in how to make your own beehive in a jar. Have the rows of organic honey jars at the farmers market got you thinking about starting your own backyard beehive? If you live in a suburban area, you may think that starting a beehive cannot be done. However a common suburban backyard can be a perfect place for beehives if done correctly and you do a bit of research and planning before ordering your bees and supplies. It is actually a very simple and easy process with the right tools. Everything you need is below including a supplies list and pictures of our diy Beehive.
Materials Needed TO Make Your Own Backyard Beehive In A Jar:
1 – Piece of 2″ x 12″ x 6′ wood (cut 2 pieces for the sides to 22″)
1 – Piece of 2″ x 12″ x 6′ wood (cut 2 pieces for the front and back to 18″)
1 – Piece of 1″ x 1″ x 6′ wood (cut 2 pieces for the top frame left and right sides to 22″)
1 – Piece of 1″ x 1″ x 6′ wood (cut 2 pieces for the top frame front and back to 18″)
1 – Piece of thick plywood (cut to 16″ X 20″)
1 – Bottom beehive kit (for the bees to enter and exit)
12 – Big mouth quart sized jars (for honeycomb)
1 – Box of wood screws (size 1″ screws)
1 – Can of wood stain (use a dark wood stain of your choice)
And of course, you need bees, most bees are available only in March and April
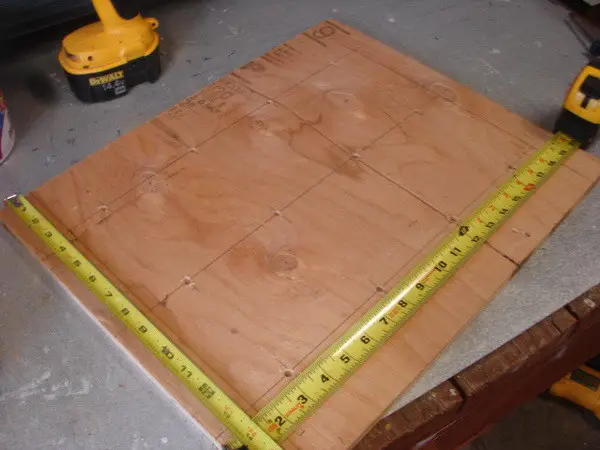 First get a piece of thick plywood and cut to 16″ x 20″.
Then measure and center for 12 holes and drill the pilot holes.
Next, drill 12 – 3 1/2″ holes with a hole saw (for the jars to fit into).
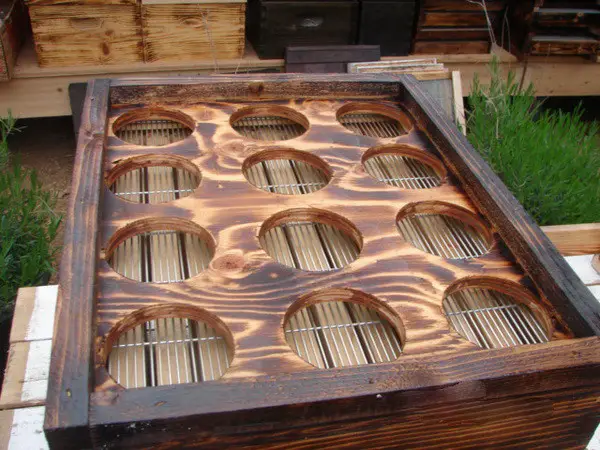 Next cut 2 – 22″ pieces from a 2″ x 12″ x 6′ board and 2 – 18″ pieces from a 2″ x 12″ x 6′ board.
Then screw everything together and stain the wood with dark wood stain (or whatever you choose).
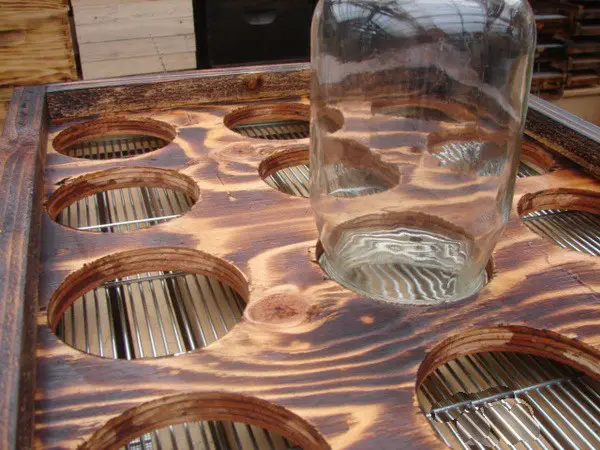 Get your 12 wide mouth mason 1/2 gallon size jars (or a normal quart sized jar).
Then arrange them and make sure they all fit properly over the holes.
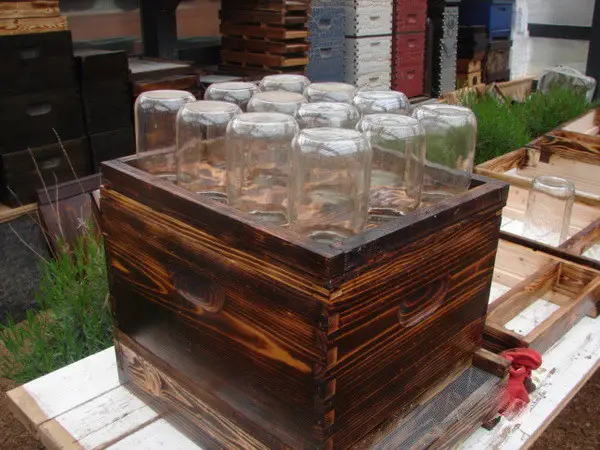 Here is the 12 beehive jars arranged and installed in our backyard beehive.
The jars sit with the screw lid on for less than 1/16″ gap between the jar and the beehive hole.
You may need to add some shims to support the weight so it won’t sag with the weight of the honey.
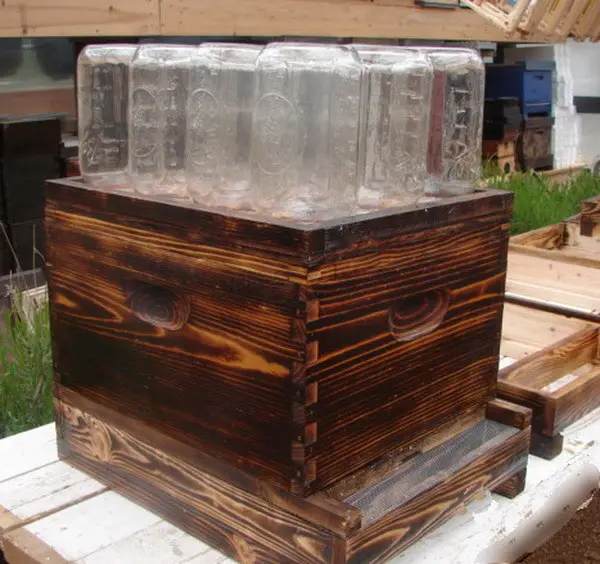 Another view of our DIY backyard beehives in a jar project.
You can vent and screen this chamber if there is excess heat or put the beehive where it gets late day shade.
The bottom wooden piece we purchased as a kit and this is where the bees enter and exit the beehive.
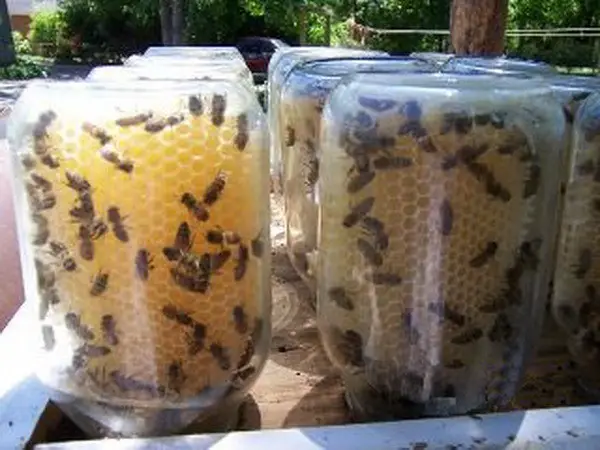 The bees are seen here after we added them to the jars, they are now ready to make organic honey.
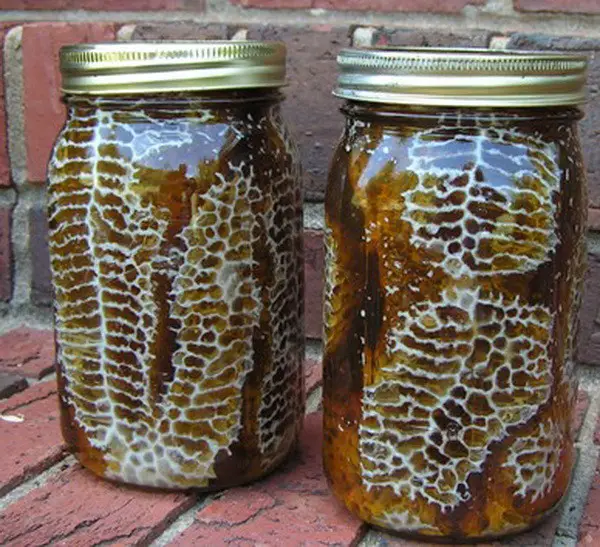 After much time, here is what the honeycomb jars look like filled with h
MORE QUESTIONS ABOUT BEES IN A JAR?
PLEASE WATCH THE VIDEO BELOW…
Other useful resources:
Blackout USA (EMP survival and preparedness)
Conquering the coming collapse (Financial advice and preparedness )
Liberty Generator (Build and make your own energy source)
Backyard Liberty (Easy and cheap DIY Aquaponic system to grow your organic and living food bank)
SOURCE : removeandreplace.com

